E46 Secondary Air Check Valve
Warning!!!
This is a write up on how I did this project. I am not a professional and not responsible for anything you do to your car.
The Procedure
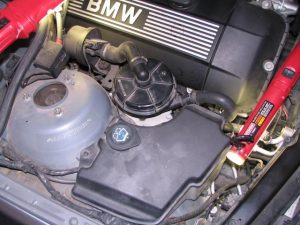
I found it was easiest to remove the washer fluid reservoir, and the secondary air pump so I could more easily access the check valve.
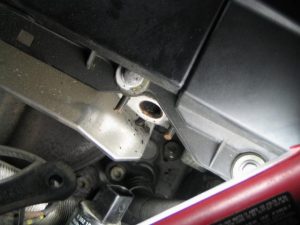
The picture below was after I had removed those components:
Drain the reservoir first!
The washer reservoir will have up to 3 electrical connections – one for the level sensor, one for the headlight washer pump, and one for the windshield washer pump. Disconnect and remove those from the washer fluid reservoir.
With those connections removed, there’s one 10mm bolt holding the reservoir in place.
Remove it and the whole reservoir should come out – it may take a bit of wrangling.
In the picture above, the check valve is the UFO looking silver thing in the center of the picture.
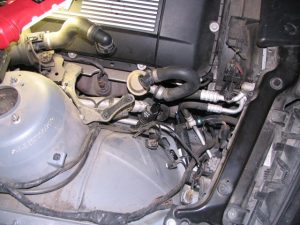
Next, I removed the secondary air pump; there’s 3 10mm bolts holding it in place. Once those are removed, there’s an electrical connection on the bottom. Remove the two hoses connected to the pump (the hoses are press-fit with plastic collars – use a small screwdriver on the big hose on top of the pump). The pump then will lift right out of its bracket.
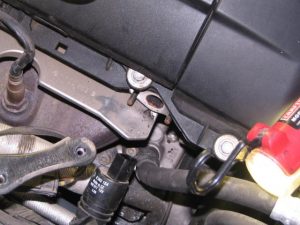
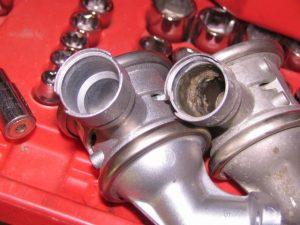
Closeup of the valve and hose:
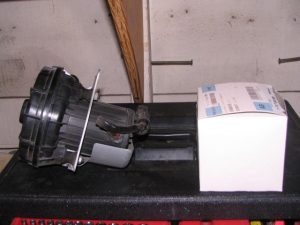
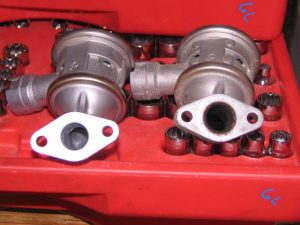
Secondary air pump removed, and the new check valve from BMW:
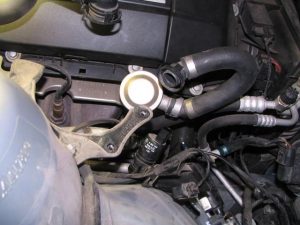
I found it easier to disconnect the hose from the check valve after it was removed from the car.
The valve is held onto the exhaust manifold by 2 10mm nuts.
I recommend having replacements handy since these are copper and will deform and/or “weld” themselves to the block.
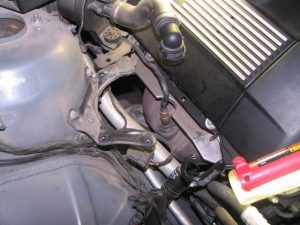
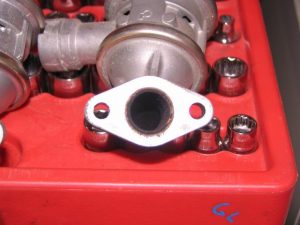
This picture shows the valve removed along with its gasket:
Here’s some comparison shots of the old versus new valve:
Assembly is, as they say, reverse of disassembly.
I reinstalled the check valve, then the secondary air pump, then the hoses, and then the washer reservoir.